
Last Christmas, I decided to make something from my son for all of the grandparents. At their respective Christmas parties, they unwrapped 8x10 canvases adorned with his little 13 month old feet, decorations, and "mistletoes" stamped across the bottom.
They turned out to be adorable! Of course, I didn't make one for us, because I didn't think about it at the time, but unpacking our Christmas decorations this year made me kick myself for not making one for our house! Not this year!
I think it's biologically ingrained in parents to cherish anything our children (and grandchildren) make for us. I can't quite explain why, but I remember my parents being so unbelievably excited when my sister and I would bring home little homemade gifts from school or we decorated things without being prompted, and so far, I've felt the same about my kid.
Personally, I LOVE homemade gifts from friends and family and I love making and giving them. That being said, I was struggling with an idea for a Christmas gift/craft for my 2 year old to make. Now, he JUST turned 2, which means his development is quite different from a 2 1/2 year old or almost 3 year old. I've seen huge leaps in his cognitive development in these last few weeks, and this craft was doable for him right after his birthday (and probably could have done it a few months before).
He needed something that was pre-outlined, so he could have room to be creative, but something adults would still recognize beyond toddler scribbles.
Even if you don't celebrate Christmas or holidays around this time of year, it could be modified as a "winter craft" since their brushstrokes resemble conifer branches so well! Little toddler crafting tip:cover their high chair tray with plastic wrap for easy clean-up!
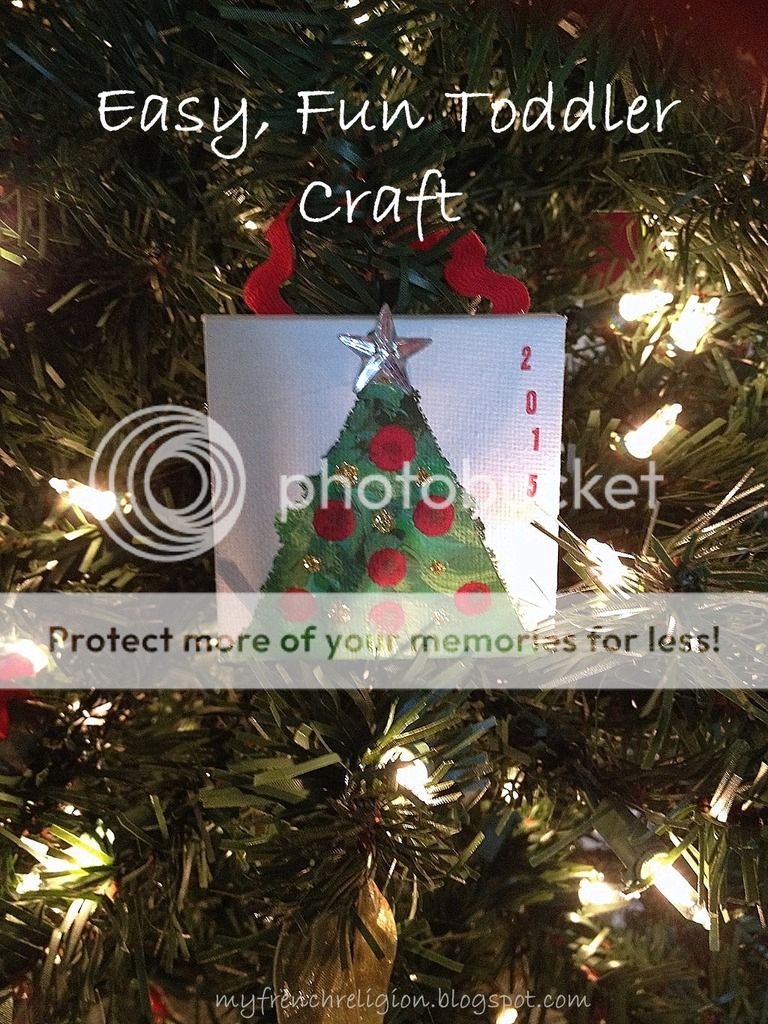
Okay, on to the instructions! You'll need:
1 small canvas (ours is 3x3 in., found at Walmart)
3 shades of green paint
Paintbrushes
Red paint
Star-shaped rhinestone
Glitter glue
Red Rick-rack
Small number stamps and ink or red pen
Blue painter's tape
1. Make the outline of a tree shape with two pieces of painter's tape.
2. Squirt 3 small dots of paint on a disposable surface and give your toddler the brushes (I gave him 3 brushes, but he ended up dipping them all at the same time).
3. After paint has filled in the negative white space between the tape stencil, set to dry overnight.
4. The next day, remove tape carefully, and add decorations/stamps as desired (make sure to label with child's name or initials on the back).
5. Hot-glue or regular glue the Rick-rack to the back of the canvas to turn it into an ornament and the star (or other decoration) to the top of the "tree."
Also, my roses are blooming again! If you look closely, you can see a bee busy at work in the center!

Happy crafting!
No comments:
Post a Comment